How to Change WordPress Author Permalink (Slug) Without Breaking SEO
If your author URL shows something like /author/alicelogin96/, you have two problems at once: an unprofessional-looking link, and a security hole that hands attackers your WordPress login username. This guide fixes both — step by step.
Contents
Why the Author Slug Matters More Than You Think
When WordPress creates your user account, it automatically generates an author archive URL based on your user_nicename — which defaults to your login username. So if your login is alicelogin96, every post you publish shows this in its author link:
https://www.yoursite.com/author/alicelogin96/The security problem
Security Risk
Every author link on your site reveals your WordPress admin username to anyone who checks — including bots running credential-stuffing and brute-force attacks. Once an attacker knows the username, they only need the password. You’ve handed them half the battle.
The SEO and brand problem
An author URL that looks like a system-generated handle (user1, admin2024, wp_alice) signals that the site wasn’t set up professionally. For personal brand and authority sites, this actively undermines the credibility you’re trying to build. Google’s E-E-A-T framework rewards consistent authorship signals — and a clean author URL is part of that.
The goal is to change it to something clean and intentional:
https://www.yoursite.com/author/alice/Key Distinction
You are changing the Author Slug / user_nicename — not your login username. These are two separate fields in the WordPress database. Your login credentials stay exactly as they are.
Method 1: Use a Plugin (Safest Approach)
✓ Recommended for most users
This method uses the Edit Author Slug plugin — lightweight, well-maintained, 100,000+ active installs. It adds a single field to your user profile. No database access, no risk of breaking anything.
Go to Plugins → Add New Plugin and search for:
Edit Author Slug
Author: Brandon Allen. Install and activate.
Navigate to the user profile you want to update:
Users → All Users → Edit [your username]
Or go to Users → Profile to edit your own account directly.
Scroll down and find the Author Slug field. Change the current value:
alicelogin96 → aliceClick Update Profile. Visit any post on the front end and click the author link — it should now show the new slug.
Done with Method 1?
Skip to the Post-Change Checklist below — you still need to clear cache, re-save permalinks, and set up a 301 redirect.
Method 2: Direct Database Edit via phpMyAdmin
⚙ Advanced — proceed carefully
If you prefer not to install a plugin, you can edit the user_nicename field directly in your WordPress database via phpMyAdmin in cPanel.
Before You Start
Take a full database backup before touching anything in phpMyAdmin. In cPanel: Backup Wizard → Back Up → MySQL Databases.
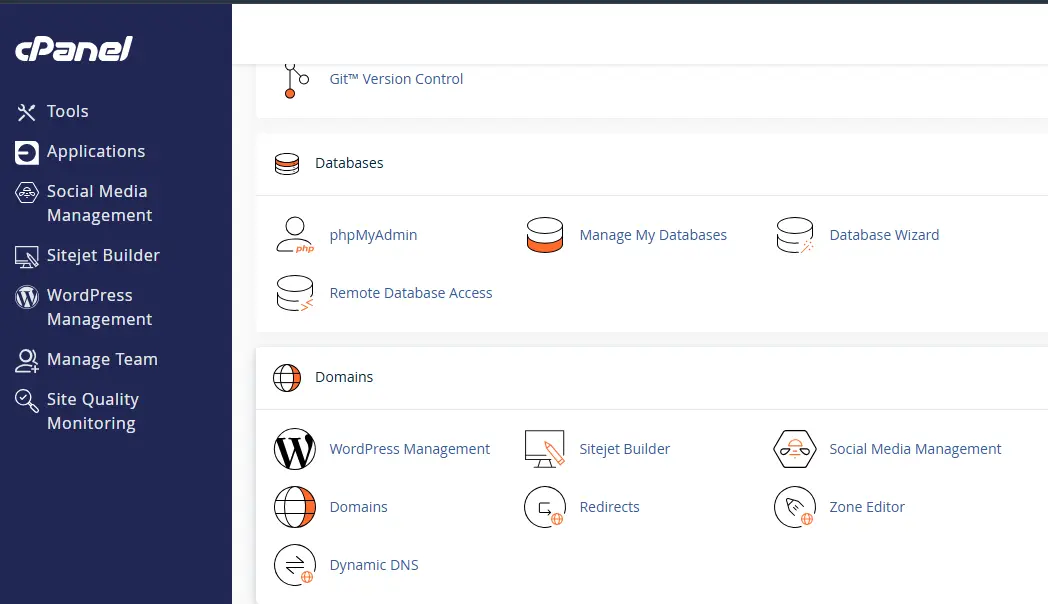
Step 1 — Access phpMyAdmin
cPanel → phpMyAdmin → Select your WordPress database
Step 2 — Find the wp_users table
Look for the users table. The prefix depends on your installation:
| Table Name | Notes |
|---|---|
wp_users |
Default WordPress prefix |
bc_users |
Custom prefix (common for security hardening) |
wpXX_users |
Multisite or managed hosting prefix |
Click on the users table and find the row matching your account by display name or user_login.
Step 3 — Edit only the user_nicename field
Critical: Only change user_nicename
Do not change user_login — that’s your actual login username. Changing it will lock you out. Only user_nicename controls the author URL.
Here’s what you’ll see in the row — and what to do:
| Field | Current Value | Action |
|---|---|---|
user_login |
alicelogin96 | Do NOT change |
user_nicename |
alicelogin96 | ✓ Change to: alice |
display_name |
alice lim | Leave as-is |
Step 4 — Alternative: SQL query
If you’re comfortable with SQL, open the SQL tab in phpMyAdmin and run:
SQL — replace prefix and username to match your setup
UPDATE wp_users
SET user_nicename = 'alice'
WHERE user_login = 'alicelogin96';
If your table prefix is not wp_, substitute accordingly (e.g. abc_users). Click Go — you should see confirmation that 1 row was affected.
Post-Change Checklist
Whether you used the plugin or phpMyAdmin, complete all four steps below. Skipping any one of them is how people end up with cache serving old URLs for three days, convinced something is broken.
1. Clear your cache
- →LiteSpeed Cache: Dashboard → LiteSpeed Cache → Purge All
- →WP Rocket: Dashboard → WP Rocket → Clear Cache
- →W3 Total Cache: Performance → Purge All Caches
- →Cloudflare: Cloudflare Dashboard → Caching → Purge Everything
2. Re-save your permalink settings
WordPress needs to flush its rewrite rules to recognize the new slug:
Settings → Permalinks → Save Changes
You don’t need to change any setting — just click Save. This regenerates the .htaccess rewrite rules.
3. Test both URLs in an incognito window
# New URL — should display your author archive
https://www.yoursite.com/author/alice/

# Old URL — should 404 (or 301 redirect if you set it up)
https://www.yoursite.com/author/alicelogin96/
4. Verify author links in post markup
Open any published post and inspect the author name link. If it still shows the old slug, your cache wasn’t fully purged — try again and do a hard reload (Ctrl + Shift + R on Windows, Cmd + Shift + R on Mac).
Setting Up a 301 Redirect for the Old Author URL
If your old author URL has been indexed by Google — or exists in any backlinks — you need a 301 redirect. Without it, those URLs return a 404, losing link equity and giving visitors a dead end.
Option A: Redirection plugin (easiest)
Install the free Redirection plugin by John Godley, then go to:
Tools → Redirection → Add New Redirect
| Field | Value |
|---|---|
| Source URL | /author/alicelogin96/ |
| Target URL | /author/alice/ |
| Type | 301 — Moved Permanently |
Option B: .htaccess (Apache servers)
Add this line to your .htaccess file, above the WordPress rewrite block:
.htaccess
Redirect 301 /author/alicelogin96/ https://www.yoursite.com/author/alice/On Cloudflare?
Set this as a Redirect Rule under Cloudflare → Rules → Redirect Rules. Cloudflare processes it before it hits your server — faster and more reliable than .htaccess for high-traffic sites.
Hardening Your Login Security — While You’re Here
You’ve fixed the author URL. But since it was exposing your login username, it’s worth taking 20 minutes to review the rest of your login security setup.
Check your login username
Users → All Users
If your login username (user_login) is something easy to guess — admin, your first name, your email prefix — consider creating a new admin account with an obscure username, then deleting the old one. WordPress will let you reassign all posts during deletion.
Note on “admin” username
If your login is still admin, automated bots are targeting it right now. Wordfence reports millions of brute-force attempts against this username daily across the WordPress network. This isn’t theoretical.
Security hardening checklist
- ✓Enable 2FA — Use WP 2FA or Google Authenticator plugin. Blocks credential attacks even if the password is compromised.
- ✓Limit login attempts — Install Limit Login Attempts Reloaded or use Cloudflare WAF to rate-limit
/wp-login.php. - ✓Disable XML-RPC — Unless you actively use it, disable it. Add to
.htaccess:<Files xmlrpc.php> order deny,allow deny from all </Files> - ✓Cloudflare WAF rule — Create a custom rule: URI path contains
/wp-login.php→ action: Managed Challenge. Blocks bot traffic while keeping your admin access intact. - ✓Use a strong, unique password — At minimum 16 characters, stored in a password manager. Never reuse passwords across accounts.
Quick security summary
With the author slug fixed, 2FA active, login attempts limited, and XML-RPC disabled, you’ve addressed the four most commonly exploited WordPress entry points — putting you ahead of the majority of WordPress sites on the web.
Summary
Here’s the complete list of what you should have done:
- ✓ Changed
user_nicenameto a clean author slug using the plugin or phpMyAdmin method - ✓ Cleared all cache layers including Cloudflare if applicable
- ✓ Re-saved WordPress permalink settings to flush rewrite rules
- ✓ Set up a 301 redirect from the old author URL to the new one
- ✓ Verified both URLs work correctly in an incognito window
- ✓ Reviewed login security: 2FA, login limits, XML-RPC, WAF rules
Two things to track in Google Search Console over the next 4–6 weeks: confirm the old author URL disappears from Coverage → Valid pages, and that the new URL accumulates impressions. If the old URL lingers in the index, your 301 redirect isn’t being processed correctly — revisit the .htaccess or plugin configuration.
Managing multiple WordPress sites or client websites? These small misconfigurations compound into real security and SEO liability. Professional website maintenance covers this as part of standard site management.
Learn about Entertop’s website support →